If you’re printing irregularly shaped objects, or have a larger run, it is a good idea to use a jig to hold items in place on your UV flatbed printer and maximise output quality and speed.
A jig can vary in complexity, but, ultimately, it’s a template or mould that keeps the object you are printing on in place and flat to the print heads’ path to help you print more accurately.
With Roland UV flatbed printers, you can print on all kinds of irregularly shaped items. A jig makes printing on golf balls, trophies or ceramics as simple as printing on a flat sheet. Read on to find out more.
Do You Need a Jig?
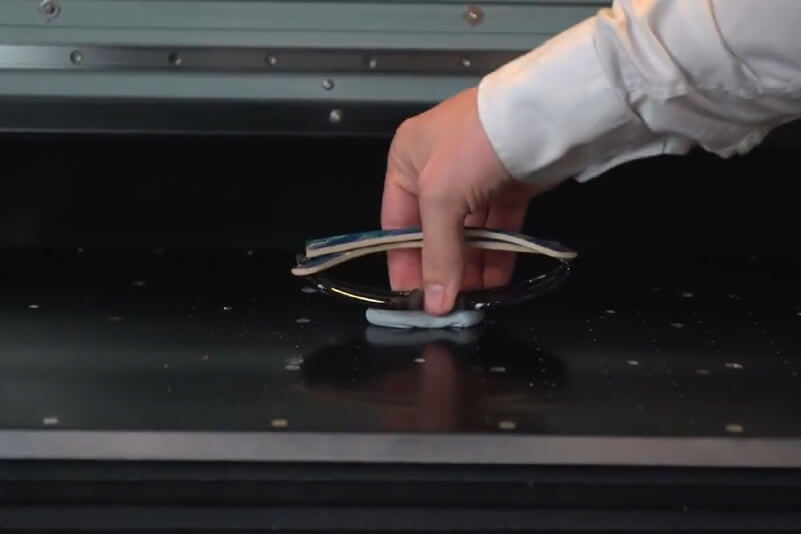
Whether you use a jig or not depends on what you’re printing onto. If it’s a one-off and relatively flat object like a phone case or box, then you can be confident that you can accurately line it up on the flatbed.
When you start adding more objects to the job, or the object isn’t likely to stay in place because of its shape (a golf ball for example), a jig becomes important to the quality and speed of your work.
Using a Corner Guide
Regardless of how simple the job is, using a corner guide can shave valuable time off your set-up process in your RIP software as you will always know where your zero or start point is. A corner guide is matched to the safe or non-printable margin around the outside of the flatbed to ensure the correct location of printable objects. This can save valuable time and saves wasting products due to misalignment, particularly when used in conjunction with correctly scaled artwork.
Pro tip: designing your artwork to 1:1 or 100% scale will make creating a jig a much simpler process.
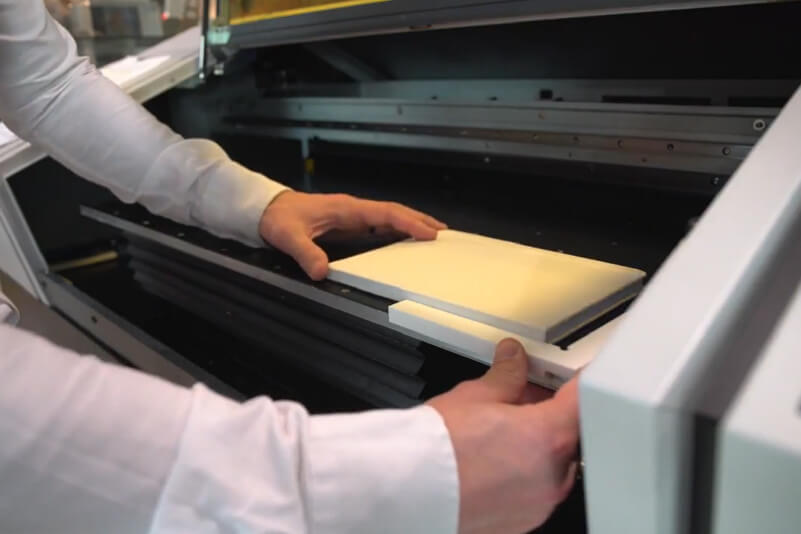
Making Jigs for Printing on Single Objects
What sort of printing jig you need depends on what you’re going to be printing on, but the good news is that it’s usually easy to make a simple printing jig from common objects.
Option 1: Stick Your Objects Down
Do you have any putty lying around? Maybe you could steal some of your child’s modelling clay or collect a lump of sticky tack from behind a poster? Or you could even use some masking tape to stop lightweight objects from slipping. It really can be that simple.
Option 2: Create a Makeshift Jig
Bottle tops, egg cartons or toilet rolls can all work well, and not just on round objects. The only thing to remember is that it could be a good idea to secure the jig to the flatbed so that it doesn’t move around.
Option 3: Make a Bespoke Printing Jig
When something a little more specialist is required, creating a mould using a vacuum former, laser cutter or milling machine can provide an accurate template for your work. If you don’t have the means to create something like this yourself, there are lots of companies who have the tools to help.
Making a Printing Jig for Multiple Objects
Printing jigs for multiple objects will vary depending on what you are printing onto and any variations in the objects size and height. In addition to locating the products, a well machined jig can ensure that all objects pass under the print head with equal distance, ensuring print quality and minimising ink overspray. There are a few approaches you can take.
Simple But Effective
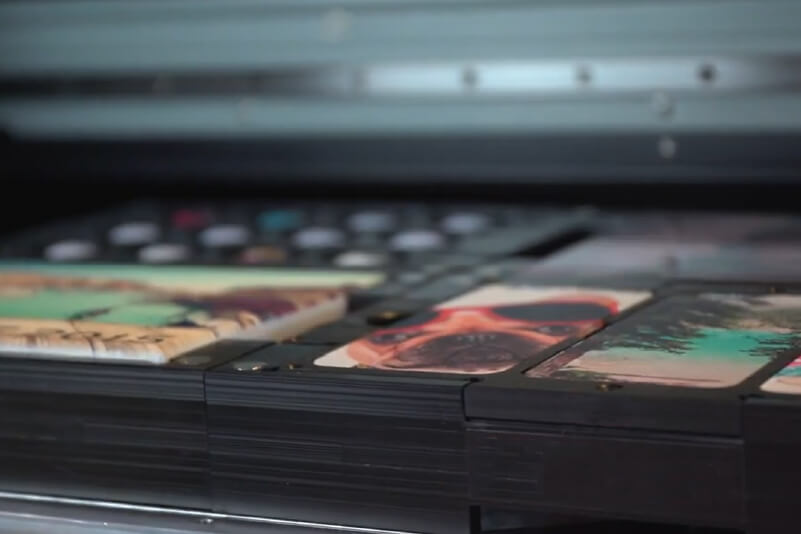
If you are printing onto several objects of the same shape, like a dozen phone cases, the simplest option is to duplicate the outline of your artwork in your design software and print gloss ink onto a flat surface. A rigid foamboard is an ideal option as it will withstand multiple uses.
By building up layers of gloss ink, you can create a ridge that will allow the object to slot into place, giving you greater accuracy and making the process a bit quicker.
You can now align your objects to the print lines, set the print height and, assuming you place the objects accurately and you set your template to the same dimensions as the original artwork, you’re ready to go!
A Little More Impressive
Printing right to the edge of an object or using bleed needs a jig that is as flush with the print surface as possible.
When print height is set too high or there are gaps between objects, like there would be using the jig method above, you can get overspray and misting that can cause unsightly blemishes on your work which can build on your UV flatbed printer's curing lamps.
The most accurate way to create this type of jig is to cut the shape of your objects from a board so that they will sit flush.
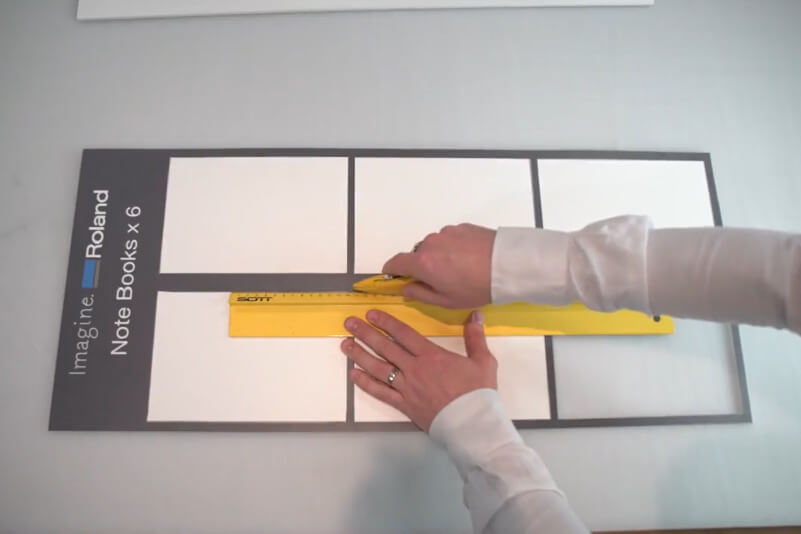
- Like our last jig, print the outline of your design onto a flat surface, such as foamboard or even wood or plastic
- As accurately as possible, cut out the shapes using a knife and ruler, laser cutter, milling machine or engraver, depending on the material you use
- If you need a deeper jig, use this as a template to produce other identical versions until they are the same height as your object, so they are flush with each other, then glue the templates together to complete your jig
The Next Level
To make the most of your time, you might want to set your machine to print onto multiple different objects of varying heights. This often requires a more complex solution, such as producing a vacuum form or 3D milling to create an accurate template which presents the objects to the print head at the same height.
This solution is perfect for larger flatbeds which are being used to produce high volumes of best-selling products daily. For example, if your business produces a mix of golf balls, phone cases and USB flash drives, this could be the solution for you.
Job Done
Some of the concepts we talk about are shown in a little more depth in this video, but we hope this article answers some of the questions you have about jigs and shows you just how quick and easy it can be to create them for all kinds of jobs. You can also learn more by coming along on one of our training courses or speaking to one of our experts.